|
Today PDF format is the most popular solution for storing and exchanging electronic documents. The need to convert PDF files to JPEGs arises in situations such as publishing documents to the Internet, using them in presentation slides and videos, or sending them to CRM or EPR systems.
The easiest way to convert a PDF to a JPEG is to print it using a virtual printer. A virtual printer differs from a desktop printer only in that instead of a representation of the document on sheets of paper, it saves the representation to a file (PDF, JPEG, or TIFF).
In order to convert a PDF file to a JPEG, download and install Universal Document Converter. To convert a PDF document, simply print it by selecting "Universal Document Converter" from the list of printers and specifying JPEG as the type of file to be created.
Please follow this manual to start converting of PDF documents.
-
Download and install Universal Document Converter software onto your computer.
-
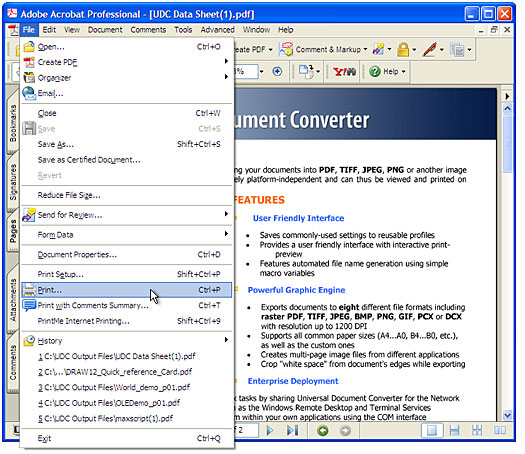
Open the PDF file in Adobe Acrobat or Adobe Reader and press File->Print... in the application main menu:
-
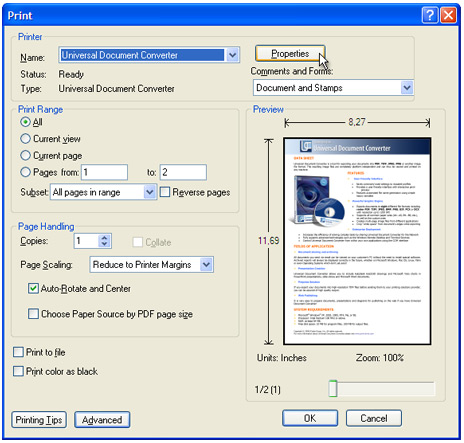
Select Universal Document Converter from the printers list and press Properties button.
-
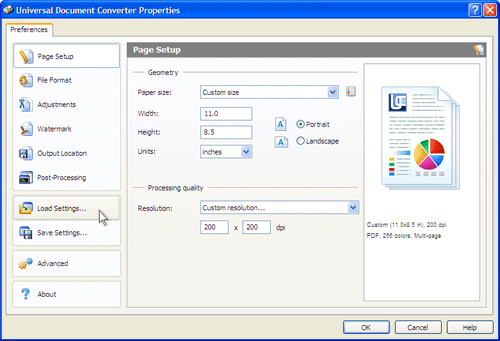
On the settings panel, click Load Properties.
-
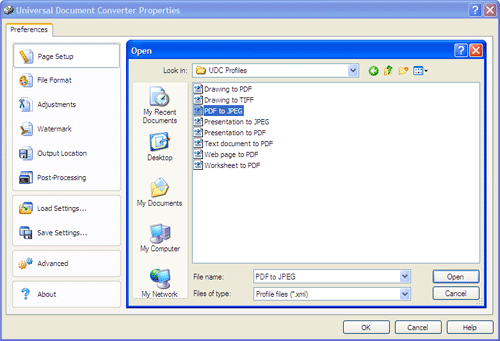
Use the Open dialog to select "PDF to JPEG.xml" and click Open.
-
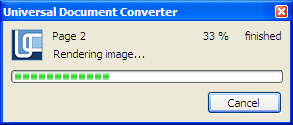
Press OK in Acrobat's Print dialog to start converting. When the JPG file is ready, it will be saved to the My Documents\UDC Output Files folder by default.
-
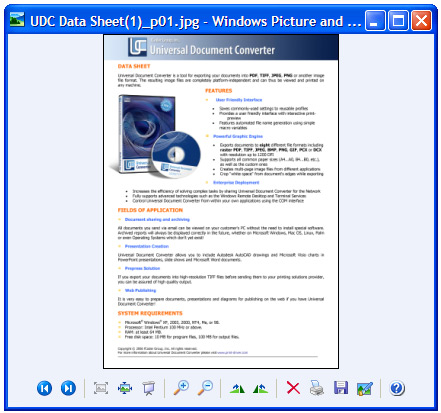
The converted document will then be opened in Windows Picture and Fax Viewer software or another viewer associated with JPG files on your computer.
|