|
Universal Document Converter provides solutions to a wide range of conversion tasks. One such task is converting documents from DjVu to TIFF format in order to fax them or send them for printing. As you would expect, each specific application requires that the converted file have certain parameters. Printers require maximum image quality, while a simple black and white image is sufficient for faxing. Universal Document Converter lets users convert DjVu files to TIFF format while retaining control over the converted files? parameters.
Please follow this manual to start converting of DjVu documents.
-
Download and install Universal Document Converter software onto your computer.
-
Install DjVu Browser Plugin for Internet Explorer from the
Caminova site.
-
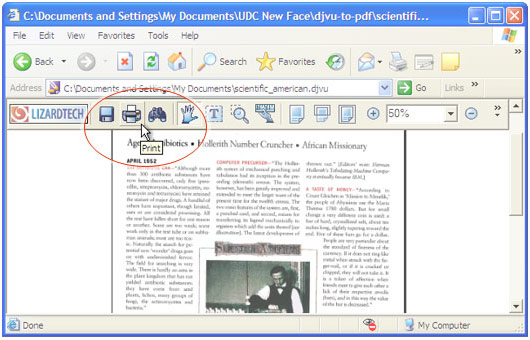
Open the DjVu file in Internet Explorer and press the Print button in the DjVu Browser Plugin toolbar:
-
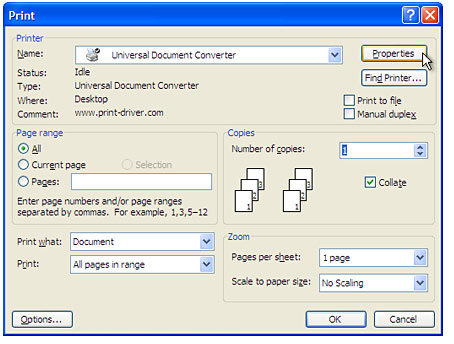
Select Universal Document Converter from the printers list and press Properties button.
-
On the settings panel, click Load Properties.
-
Use the Open dialog to select "Text document to PDF.xml" and click Open.
-
Select TIFF image on the File Format tab and click
OK to close the Universal Document Converter Properties window.
-
Press OK in the Lizardtech plugin Print dialog to start converting. When the TIFF file is ready, it will be saved to the My Documents\UDC Output Files folder by default.
-
The converted document will then be opened in Windows Picture and Fax Viewer software or another viewer associated with TIFF files on your computer.
|