|
If you need to convert an HTML file to one of the most popular graphic formats, Universal Document Converter is the best tool for the job, with detailed settings for output formats and a wide array of additional functions. The time required to convert an HTML file to a graphic format varies depending on the source data, your computer?s processor and several other parameters.
Please follow this manual to start converting of HTML files.
-
Download and install Universal Document Converter software onto your computer.
-
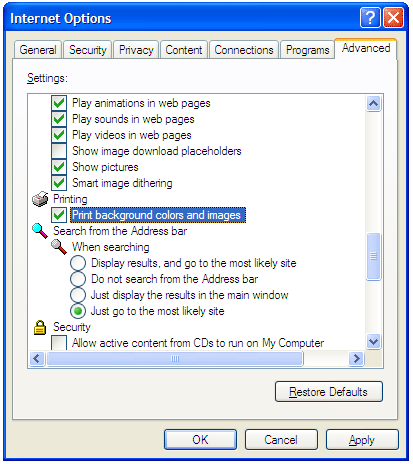
Open the web page in Internet Explorer. In main menu, go to Tools->Internet Options->Advanced. In Printing section check the Print Background colors and images option and press OK.
-
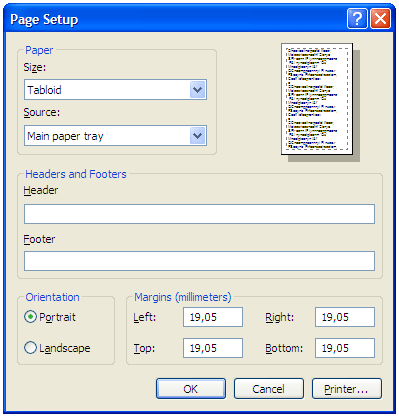
To remove page header and footer from output PDF file, in main menu press File->Page Setup. Remove any text from Header and Footer fields and press OK.
-
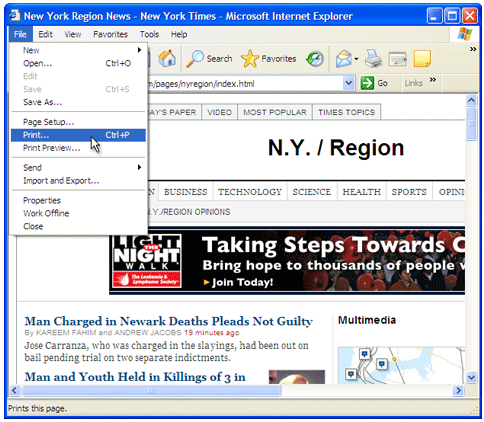
Press File->Print... in Internet Explorer main menu.
-
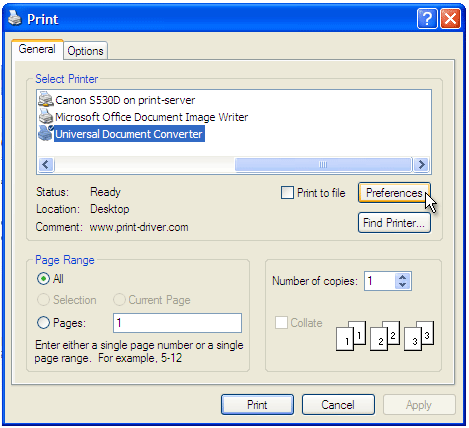
Select Universal Document Converter from the printers list and press Preferences button.
-
On the settings panel, click Load Properties.
-
Use the Open dialog to select "Web
page to PDF.xml" and click Open.
-
Select the required image format on the File Format tab and click
OK to close the Universal Document Converter Properties window.
-
Press Print button to start converting. When the image file is ready, it will be saved to the My Documents\UDC Output Files folder by default.
-
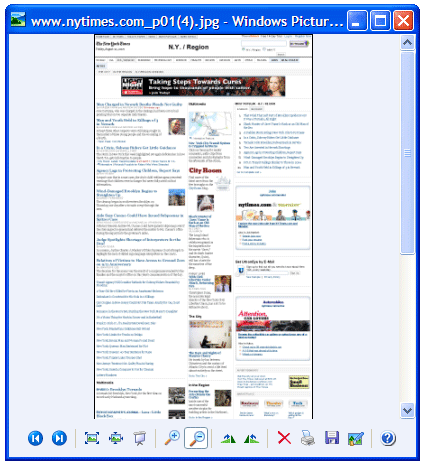
The converted document will then be opened in a program adjusted as a default image viewer on your computer.
 |