|
Users frequently need to use a single image in multiple formats. Since most images exist as JPEGs, converting from JPEG to other graphic formats becomes inevitable. The simplest solution is to use specialized software like Universal Document Converter. The time required to convert a JPEG file to another graphic format depends on the computer?s processor, the size of the original file and the conversion parameters.
Please follow this manual to start converting of JPEG images.
-
Download and install Universal Document Converter software onto your computer.
-
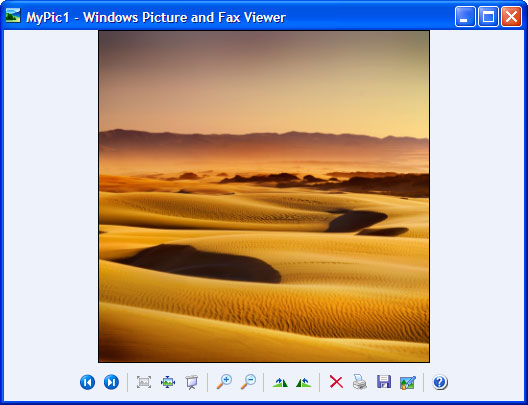
Open the JPEG image in Windows Picture and Fax Viewer and click the Print button on its toolbar.
-
In the Photo Printing Wizard window, click the Next button. The wizard displays the list with images located in the folder along with the JPEG image you're going to convert. There you can select additional image files for converting.
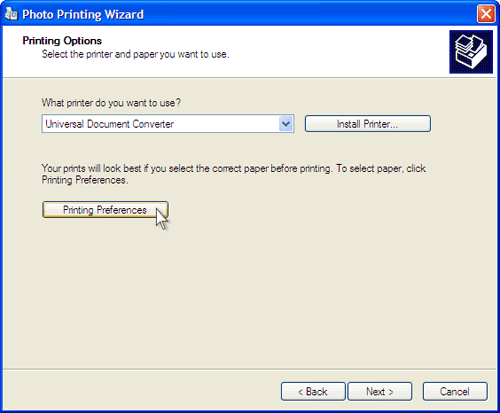
Then click the Next button, select Universal Document Converter from the printers list and click the Printing Preferences button.
-
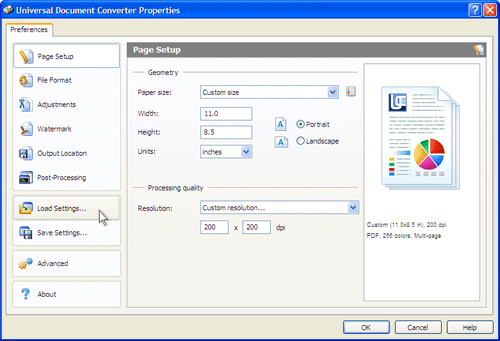
On the settings panel, click Load Properties.
-
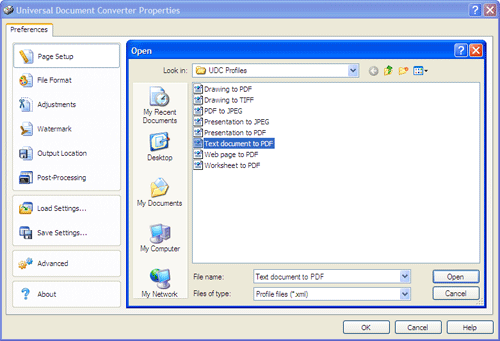
Use the Open dialog to select "Text document to PDF.xml" and click Open.
-
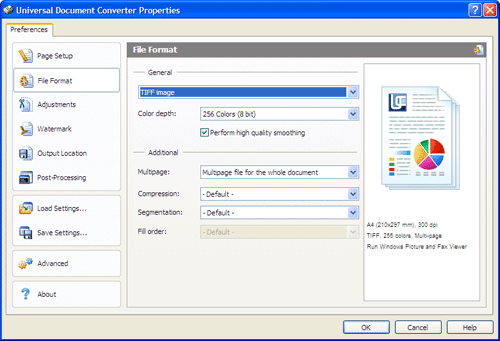
Select the required image format on the File Format
tab.
-
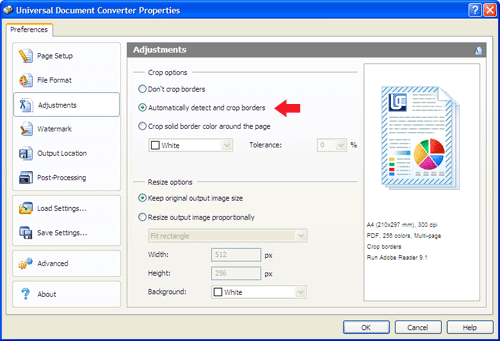
To remove empty space around the picture in the output document, select the Automatically detect and crop borders option on the Adjustments tab.
Then click OK to close the Universal Document Converter Properties window.
-
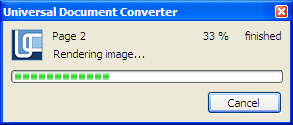
Click Next in the Photo Printing Wizard
window, select a layout from the list and click Next to
start converting. When the image file is ready, it will be saved to the My Documents\UDC Output Files folder by default.
-
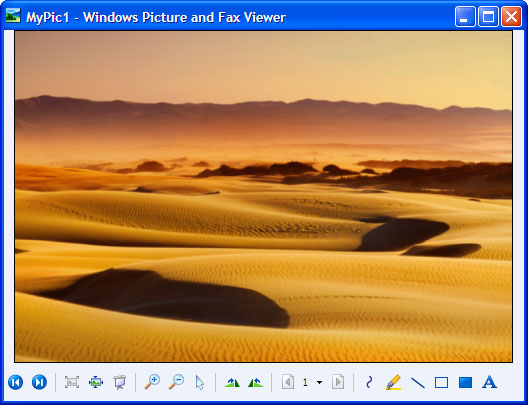
The converted document will then be opened in Windows Picture and Fax Viewer or another viewer associated with image files on your computer.
|